
Installing specialized system components or driver-like packages can feel confusing, especially when the file name looks technical like 35-ds3chipdus3. Whether it’s part of a chipset update, firmware module, or device driver bundle, the installation process needs careful handling to avoid errors or system instability.
This guide breaks everything down into simple, practical steps so even non-technical users can follow along confidently. You’ll also learn best practices, common mistakes to avoid, and how to verify that everything is working properly after setup.
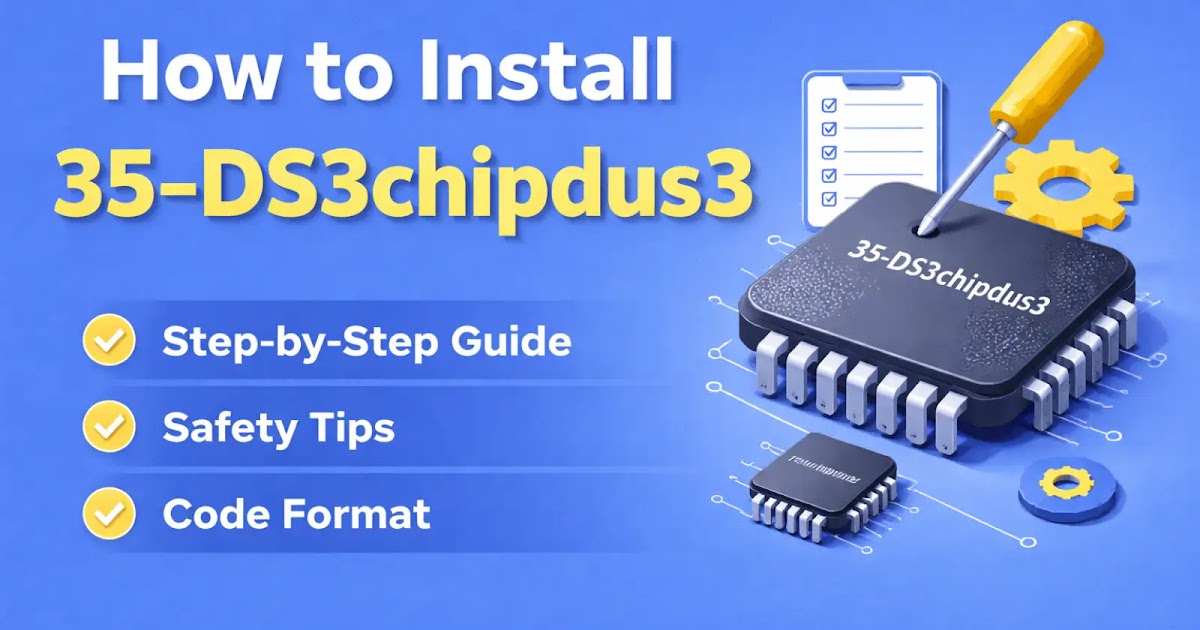
Understanding What 35-ds3chipdus3 Is
Before jumping into installation, it’s important to understand what you’re dealing with. In most cases, packages like this refer to a hardware support module or driver set used to improve compatibility between your operating system and a connected device.
It may be linked to:
- System chipset optimization
- External hardware communication
- Firmware updates for stability
- Performance tuning components
Installing it correctly ensures your system recognizes the hardware properly and runs without glitches.
Preparation Before Installation
Skipping preparation is one of the most common reasons installations fail. A few minutes of setup can save hours of troubleshooting later.
Make sure you:
- Back up your important files
- Ensure your system has enough storage space
- Disable antivirus temporarily (only if it blocks installation falsely)
- Check compatibility with your operating system version
- Download the package from a trusted source
Personal experience note:
I once tried installing a similar chipset package without checking system compatibility, and it caused repeated restart loops until I rolled back the driver version.
Step-by-Step Installation Process
Step 1: Extract the Package
Most installation files come compressed. Right-click the file and extract it using built-in tools or software like WinRAR or 7-Zip.
Step 2: Run the Setup File
Look for an executable file such as setup.exe or install.exe. Right-click and choose Run as Administrator to avoid permission issues.
Step 3: Follow On-Screen Instructions
The installer will guide you through:
- License agreement
- Installation directory selection
- Component selection (if available)
Keep default settings unless you have specific requirements.
Step 4: Wait for Installation to Complete
Do not interrupt the process. Your system may install multiple drivers or modules in the background.
Step 5: Restart Your System
A reboot ensures all changes are applied correctly and the system loads the new components properly.
Real-World Application and Impact
Imagine you’ve connected a new hardware device—such as a performance controller or specialized USB interface—but your computer doesn’t recognize it. The system either shows an error or fails to respond.
After installing the 35-ds3chipdus3 module, the device is instantly detected, latency drops, and performance becomes stable. This is often the difference between a malfunctioning setup and a fully optimized system.
Installation Methods Compared
Different users prefer different installation approaches depending on their technical comfort level.
| Method | Difficulty | Speed | Reliability | Best For |
|---|---|---|---|---|
| Manual Installation | Medium | Moderate | High | Advanced users |
| Automatic Installer | Easy | Fast | Medium | Beginners |
| Driver Update Tools | Very Easy | Fast | High | Non-technical users |
Each method has its advantages, but manual installation provides the most control, especially when dealing with system-level components.
Common Installation Issues and Fixes
Even if you follow every step carefully, problems can still occur. Here’s how to handle the most common ones:
1. Installation Fails to Start
- Run as administrator
- Re-download the file
- Check system compatibility
2. Device Not Recognized After Installation
- Restart the system again
- Check device manager for conflicts
- Reinstall the package
3. Error Messages During Setup
- Disable conflicting software
- Ensure no previous version is interfering
- Clean temporary system files
Best Practices for Smooth Performance
To make sure everything runs smoothly after installation:
- Keep your system updated regularly
- Avoid installing multiple conflicting drivers
- Create a system restore point before major changes
- Monitor device performance after setup
These small habits help maintain long-term system stability.
Why Proper Installation Matters
Many users underestimate the importance of correct installation. A poorly installed driver or chip package can lead to:
- System crashes
- Hardware malfunctions
- Reduced performance
- Random disconnection
On the other hand, a proper installation ensures smoother communication between hardware and software, improving overall efficiency.
What Most Users Don’t Realize
What most users don’t realize is that installing system-level components like this isn’t just about “making things work.” It can also unlock hidden performance improvements, reduce processing delays, and enhance compatibility with future updates.
In some cases, users notice faster boot times and improved responsiveness after correct installation.
Also Read: lna2u9h2f1k7 Explained: Meaning, Uses & Fix Guide Today
Conclusion
Installing 35-ds3chipdus3 doesn’t have to be complicated if you follow a structured approach. The key is preparation, careful execution, and proper verification after setup. Whether you’re fixing a hardware issue or optimizing performance, the steps outlined above will help you complete the process safely and efficiently.
Always remember: the success of any installation depends more on accuracy than speed. Taking your time ensures long-term stability and prevents unnecessary troubleshooting later.
FAQs
1. Is 35-ds3chipdus3 safe to install?
Yes, as long as it is downloaded from a trusted and verified source.
2. Do I need technical knowledge to install it?
Not necessarily. Beginners can follow automatic installation methods easily.
3. Why is my device not working after installation?
It may require a restart or driver reinstallation to fully activate.
4. Can I uninstall it later?
Yes, you can remove it through system settings or device manager if needed.
5. What should I do before installing it?
Always back up your data and ensure compatibility with your operating system.